Creating a lyric slide deck
Hopefully your very last slide deck--ever!
The much-overused slide deck (I.e. PowerPoints) module is upon us. Many a course and many an organization has perished under the boredom and routinized monotony that is so often associated with this aged and decrepit form of information sharing in the modern age.
You are encouraged to never present using a slide deck, in any situation. If you would like a visual aid, use any other form of display except for a slide deck and you are sure to dazzle and wow the audience simply by your choice to not use the traditional, over-used medium.
For this unit, you'll acquire basic proficiency in creating slide decks by designing an intriguing set of slides that display the lyrics of your favorite song and which can be advanced automatically in sync with the song itself.
Contents
check_boxLearning resources
wb_incandescentSkill list
webPhase 1: Setup your deck
webPhase 2: Distribute lyrics across slides
webPhase 3: Create background images
webPhase 4: Layout and color slides
webPhase 5: Time show to music
Learning resource links
Microsoft PowerPoint Tutorials |
An open education organization called CFC Global has created a fantastic set of tutorials on MS PowerPoint tutorials complete with videos of each main topic |
LibreOffice Impress Tutorials |
The Document Foundation has published a 264-page book about how to use their slide deck program called Impress. You can download, save, and even print this easily if you'd like. |
wb_incandescentSkill list
This module invites you to master these slide deck skills that apply to each and every slide deck tool you'll ever use: PowerPoint, Google Slides, LibreOffice Impress, etc.
- Creating decks, adding slides, and choosing canned layouts
- Adjusting slide formatting using the slide masters
- Adding text boxes and other objects manually (not those defaulted in the layout)
- Inserting and images into slides from files and URLs
- Manipulating images (resizing without distortion, cropping, brightness/contrast)
- Slide design principles (high contrast text, bullets, varied structure)
- Automatic slide advance configuration (presentation timings)
- Presentation modes and options (notes, start location, rehearse)
arrow_upward back up to contents
wb_incandescentPhase 1: Setup your deck
Study these module steps and then dive in! Remember, the goal here is exposure and fun, not being picky or uptight about getting it "right".
- Browse a few of the past lyric slide decks to get a sense for what kind of products folks have made in the past
- Choose a song you enjoy and would like to dedicate a few hours to building a slide deck around. You'll end up listening to the song a bunch of times to get the timing correct, so make it good! Locate a local file or an online source such as YouTube from which to play the song's audio. Adding the word "lyrics" to a YouTube search will return mostly results that aren't full fledged music videos--since this is not what we want.
- Open your chosen slide deck program: either the Microsoft Corporation's PowerPoint program or the Document Foundation's free and Open Source Present application.
- If you have never used a slide deck program before, follow this tutorial at CFC Global about MS Powerpoint basics
- Create a new slide deck (i.e. a new presentation). Save the file to a logical location on your computer using our class file naming conventions (replace the items in [brackets]):
fa18_online_[firstName]_[projectTitle].[extension] - Create your first slide by populating it with the following info:
- Your chosen song's name
- Song's artist
- Your first name
- A link to some online version of the audio of this song
- List the course and term
arrow_upward back up to contents
Phase 2: Distribute your lyrics across slides
You now have a song and a blank presentation. Before we get fancy with the images and cool fonts, let's divide the song's lyrics across 8-16 slides. For many songs, this comes out to be about 1 stanza per song.
- Use a non-archiving internet search engine like duckduckgo.com to find a listing of the song's lyrics.
- On your second slide, create a text box. Copy and paste the lyrics from your lyrics source into this one text box. You'll probably need to tinker with the formatting and remove extra spaces or junk that gets carried over from the web.
- Listen to your song while reading through the lyrics. If there is a chorus that's repeated in the song but only marked in the lyrics with something like "2x", duplicate the text so that each word that's sung is in the lyrics.
- Review the PowerPoint tutorial on organizing your slides.
- Distribute the lyrics in chunks across the number of slides you choose so that the total number of slides is between 8 and 16. This means cutting and pasting the lyrics from your second slide (where all of them started) into text boxes on your later pages.
arrow_upward back up to contents
Phase 3: Add cool images to the background
- Most slide decks have very boring backgrounds. We can improve this by collecting image that relate somehow to our songs and inserting them into the background of the slides.
- We now want to find images to use in our decks that connect to the lyrics somehow
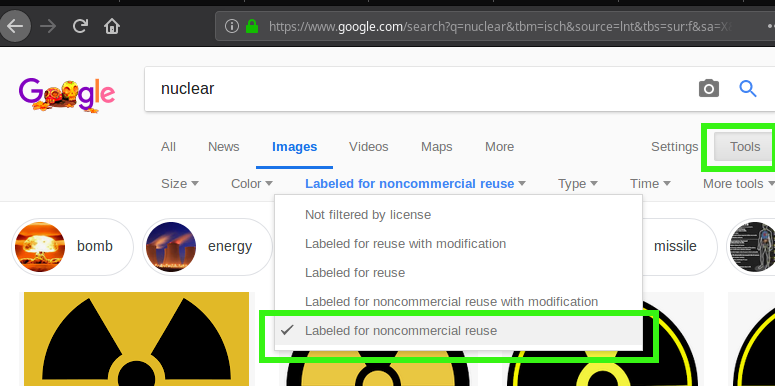
- Use an image search utility such as the wikimedia commons image database to find interesting images. We can also use a google image search with usage rights filtering to find images we can safely use in our project. To filter by use rights, search for any term on the main search page then click Tools >> Usage Rights. See the image below for help
- Once you have found an image you are allowed to use and is interesting, right click that image and select something like "copy image". Switch back to your slide deck and paste the image onto your slide. You can follow the full tutorial for inserting images in PowerPoint here.
- If you cannot copy and paste into the slide deck, you can right click an image, click "save image as" or something close, save the image to your hard drive, and then insert the image manually into your slide deck.
- Consult the PowerPoint tutorial section (also linked above) to learn how to resize and move the images.
- Change layering and ordering: Most likely, when you paste or insert an image, you'll find that the initial order of that image covers up other page elements. Since these are supposed to be background images, reorder the image by sending it to be located at the back of all other objects, like text boxes. This way it won't cover up your lyrics. This PowerPoint tutorial section explains in detail.
- Remember that when you resize images, use the corners to change the size, not the sides, since this will adjust the size ratios of the images, causing them to look weird and unprofessional.
- Each slide should have a background image and not some boring color. You may want to duplicate slides for choruses to give the show some kind of structure

arrow_upward back up to contents
Phase 4: Layout and create high-contrast coloring
- You should now have lyrics in text boxes with images in the background. To be kind to your viewers, make sure that the text stands out enough from the images in the background to be readable from a ways away.
- Do this by moving the text boxes to an area of your image that has a generally similar color, such as mostly light or mostly dark.
- Now change the text color of the lyrics to stand out from the background. A light background should have dark colored text, and a dark background should have light text.
- Make the lyrics font size at least 24 points and bold.
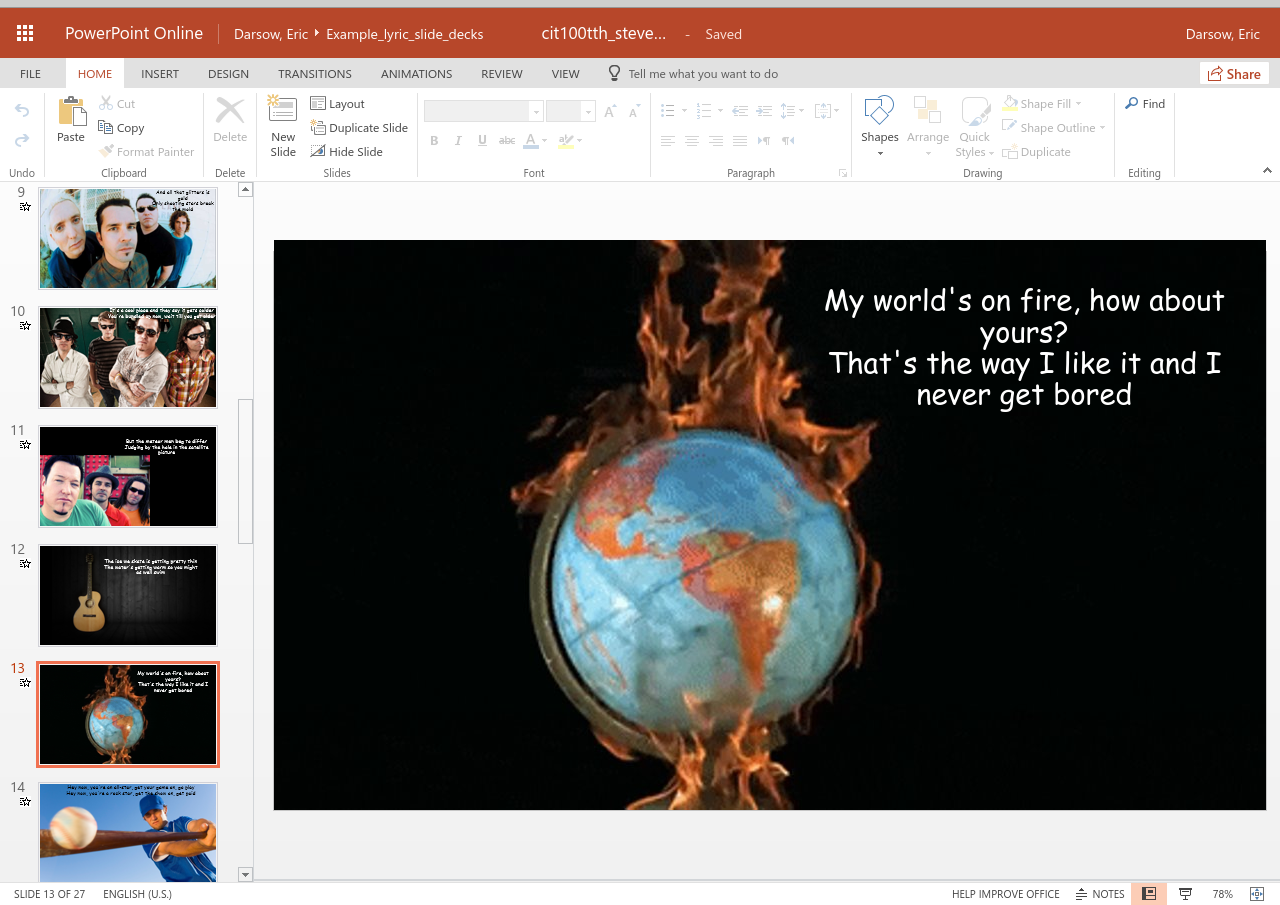
A sample slide with GREAT contrast

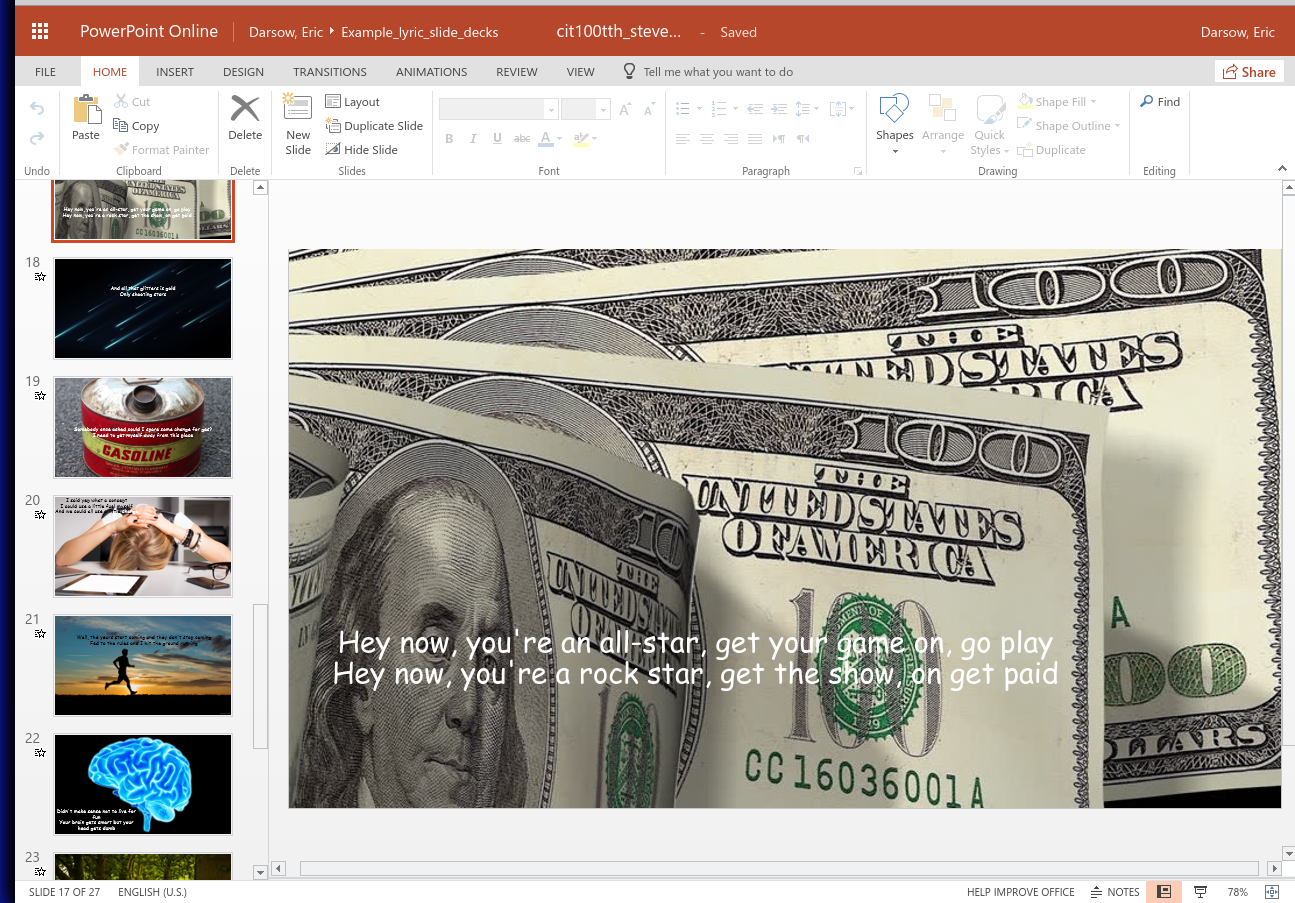
A sample slide with POOR contrast

arrow_upward back up to contents
Phase 5: Record slide deck timings to match music
- With your content and images ready, it's time to record the amount of time that the slide deck presentation software will wait before automatically advancing to the next slide. In PowerPoint this is called "Rehearsing Timings"
- It'll take some serious work to play your song while also rehearsing the timings in the slide deck software. You'll want to choose a distinctive point at the start of the song to use as a marker of when to advance to the second slide. List this on your first slide so somebody else trying to time your show can get it right.
- Try playing your show to ensure that the software recorded the timings approximately as they should be. You can go back and view the slides in slide sorter view to see the assigned times for each slide. Don't get too picky!. The timing tools were not designed for this level of second-by-second precision, so the transitions may not match the music just right. It's okay.
arrow_upward back up to contents
Phase 6: Upload and share
- Show off your work to a friend or colleague! Dance the night away.
- When you're happy with the show, save it and upload it to the shared directory using the link in the blackboard assignment.
- Take the submission quiz on Blackboard
arrow_upward back up to contents