Building an IBM Personal Computer
Our goal is to become intimately familiar with the innards of a personal computer built by IBM back in the early 2000's. IBM was the first creator of personal computers, and they were known for rugged, well-built machines. This computer is one such machine. As you put it together following these steps, appreciate how various components have been designed to fit into the case easily.
It's important to follow these steps carefully so as to not damage the components. Please keep in mind the following precautions:
- Don't force any parts into place. If you need to apply firm pressure to the RAM cards and the ports, do so with care, making sure the pins and slots are properly lined up. These parts are rather sturdy, but they are brittle and can snap.
- We have oily hands. Handle the circuit cards on their edges when possible.
- Avoid dropping tools onto the cards, and avoid dropping those cards themselves. (duh)
Step 1: Screw in the motherboard into the case
Position the motherboard inside the case, lining up the screw holes in the board with the screw holes in the case. Use a screwdriver with a philips head on it to screw them in. Check to make sure all the holes are filled--they are in odd places. Screw each one in until it's snug down onto the board. Push down on the motherboard when you think you're done to check to make sure the bard doesn't wiggle or move up and down at all. This would cause damage when installing other components.
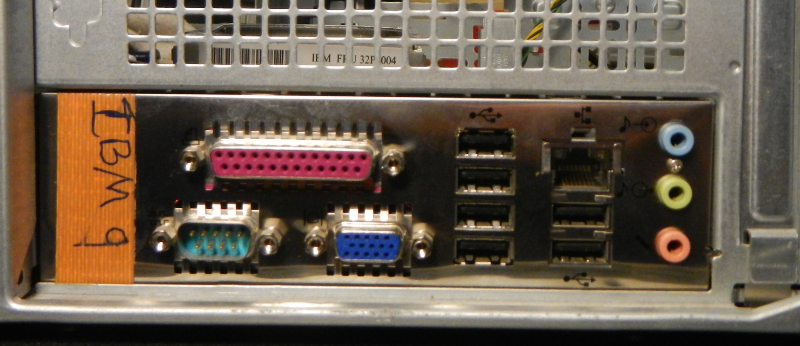
Before you screw it in place, check to make sure the ports on the motherboard are aligned with the opening on the rear of the computer as pictured below.
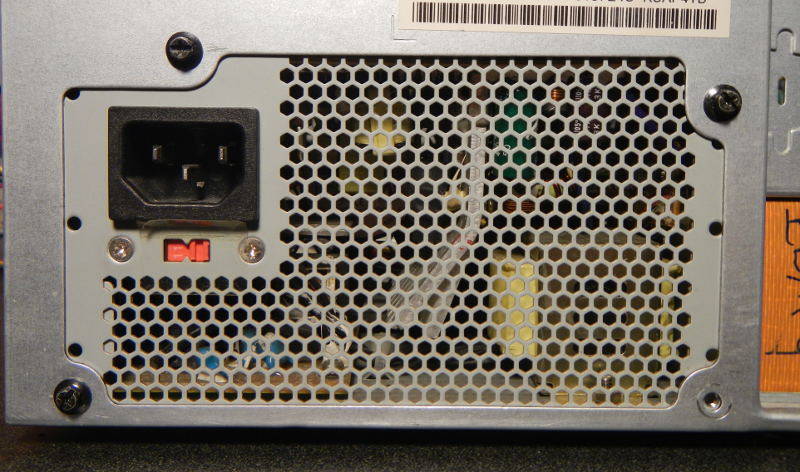
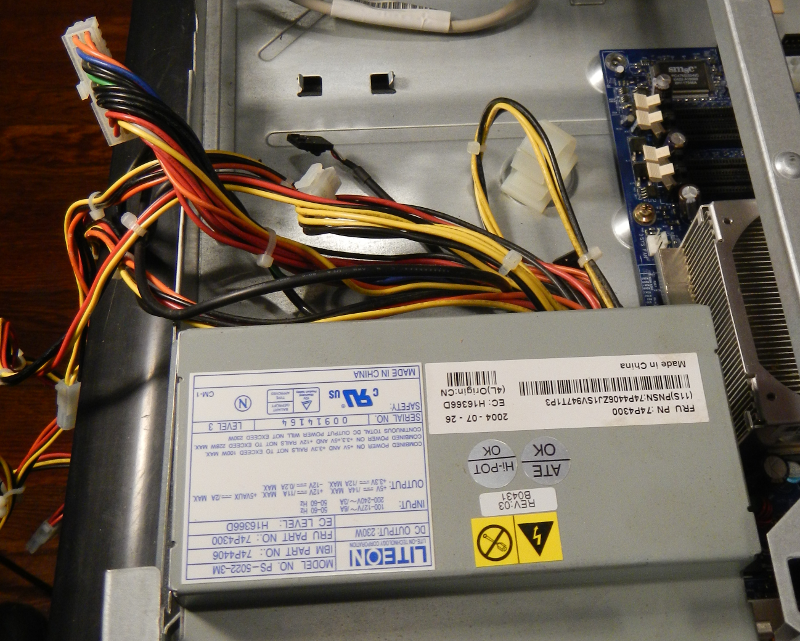
Step 2: Position and screw in the power supply.
This device takes in wall power that's a high voltage (110) and alternating current, and changes it into direct current of a very low voltage. It has a bunch of cables coming out of it because it provides power to lots of different devices in the computer, and each device needs its own cord. Also, some devices require power at voltages that are unique, demanding their own cord. Line up the power supply's screw holes with the holes in the case.
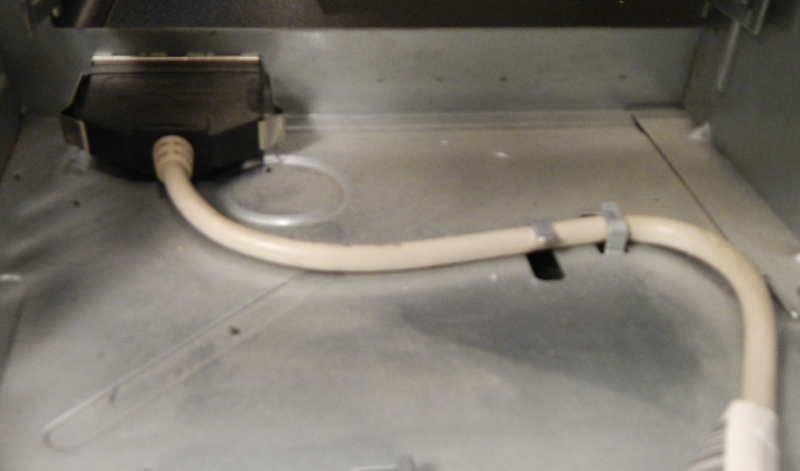
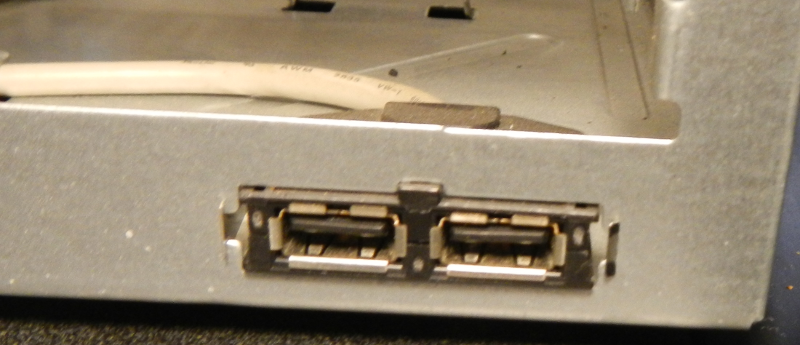
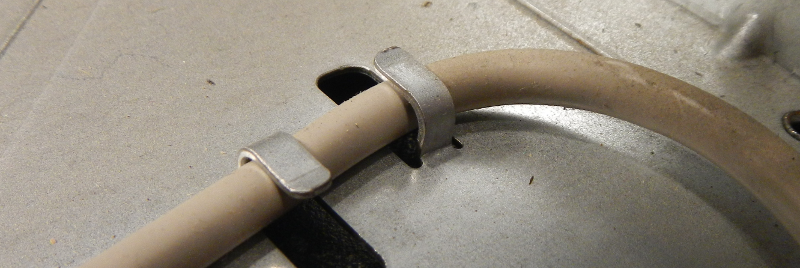
Step 3: Install the front-mount USB port component and wire.
This little component provides USB port access to the front of the system. Locate the cable and match its end with the ports into the case. Then run the wire through its guides as shown in the pictures. Then hook up its data cable to the motherboard directly as shown.

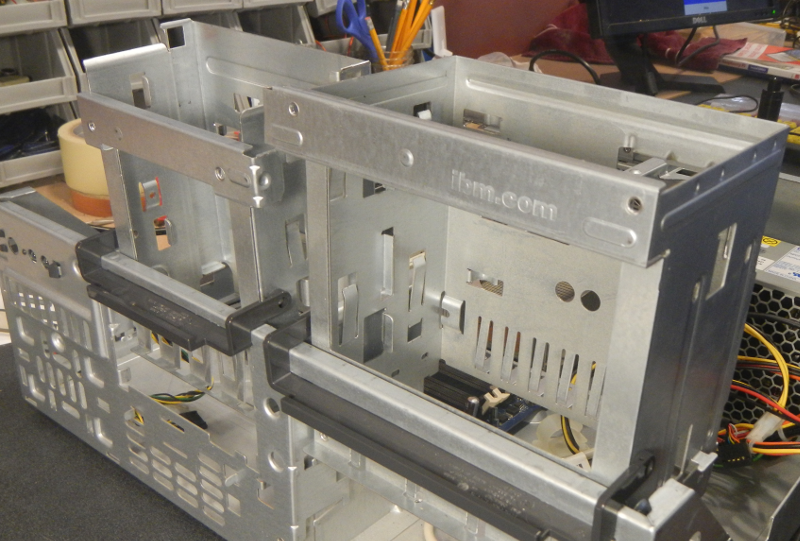
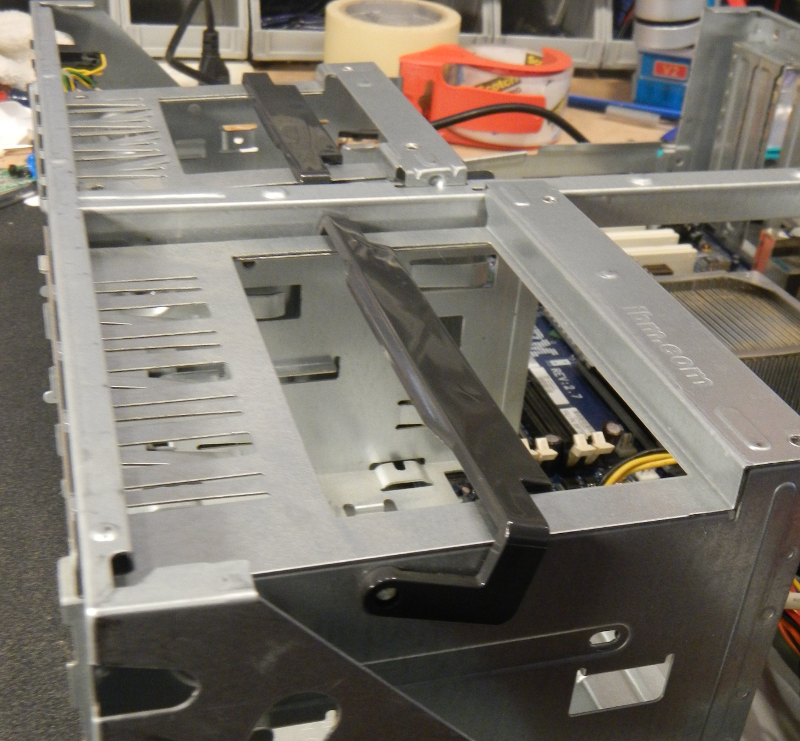
Step 4: Make sure the expansion bay racks are flipped up and latched to the side of the case
See how nicely designed these are? We can fold them up and have easier access to the parts on the motherboard. Feel free to flip these up and down as you find is convenient throughout this guide.
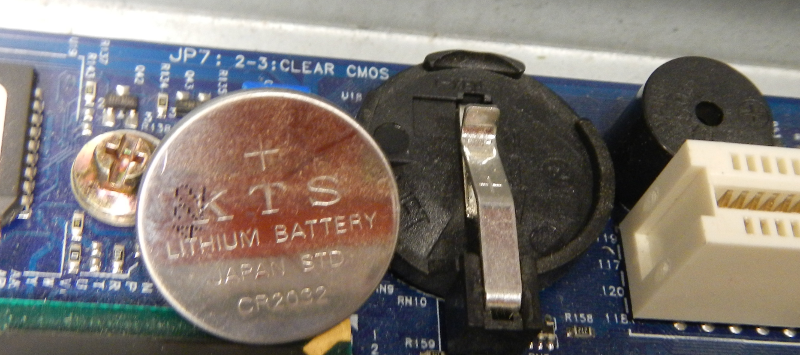
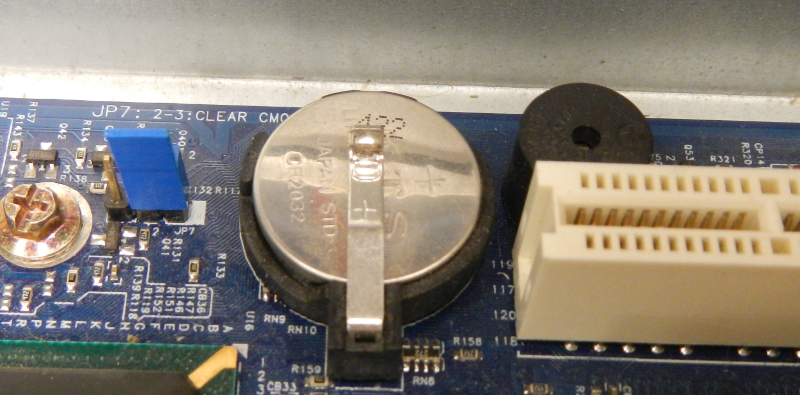
Step 5: Install the button batter on the mother board
This tiny batter helps the mother board hold very basic information about what components are attached to the computer when the system is not plugged in.
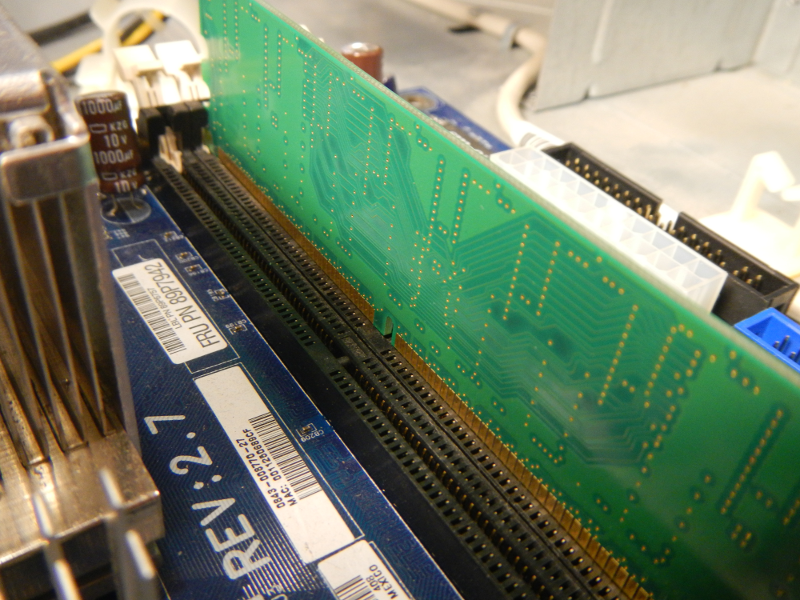
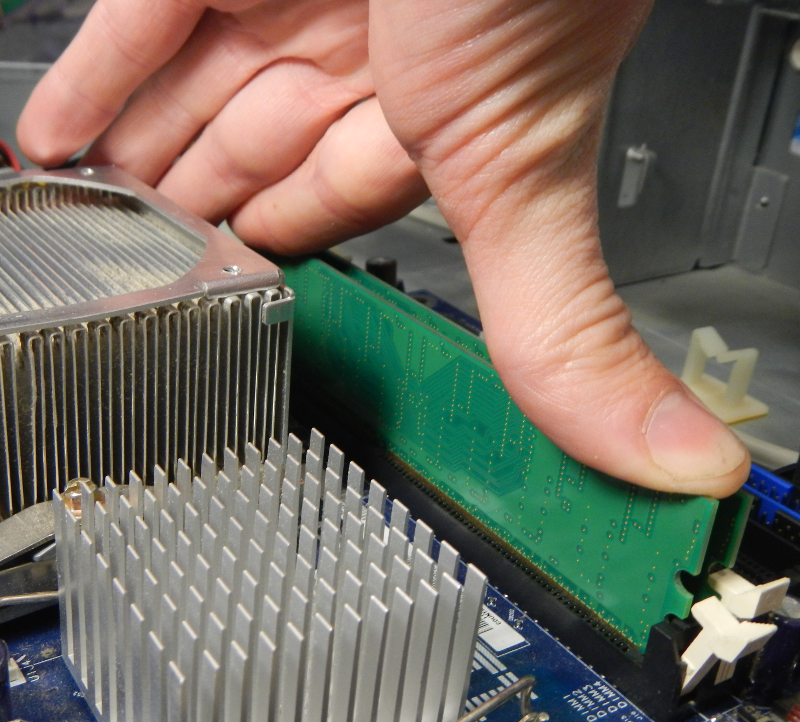
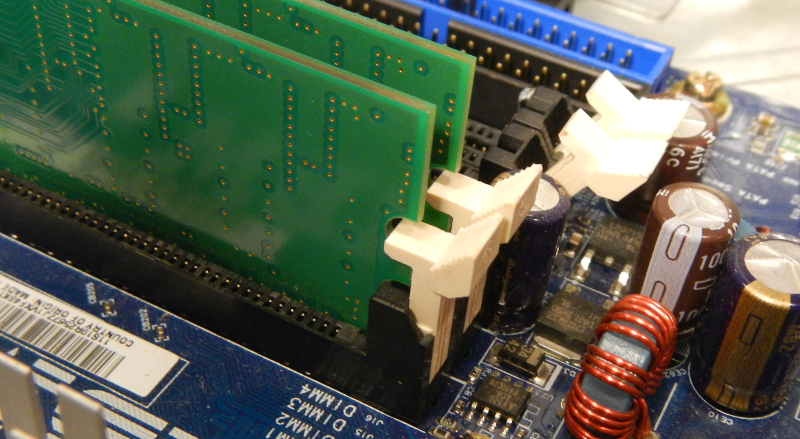
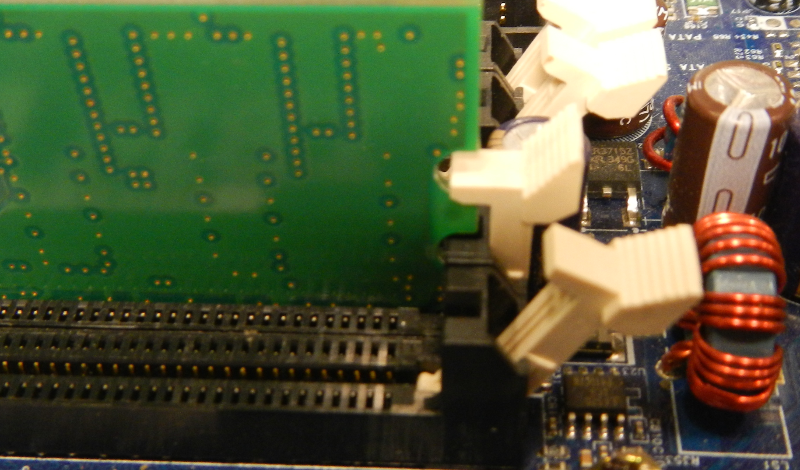
Step 6: Install the Random Access Memory DIMMS (RAM cards)
The RAM and the processor work together to carry out all the computations that occur as the computer runs. The RAM is temporary storage for data that the processor is either waiting to process or has already processed. Check how many gigabytes of RAM you are installing on this older computer. Modern computers are equipped with between 4 and 32 gigabytes of RAM.
Installing RAM requires the most care to avoid breaking components. Position the cards very carefully over their slots, checking that the little gap on the bottom of the cards is lined up perfectly with the little notch of plastic in the mounting slot on the mother board.
When you install the RAM, make sure the clips on either side of each RAM slot are pulled out before pushing down each RAM card with steady, firm pressure, until it sinks into place, and pulls the locking tabs with it. Study the pictures carefully.
Step 7: Fold down the expansion bays
Move them into the lowered position to install the CD-ROM
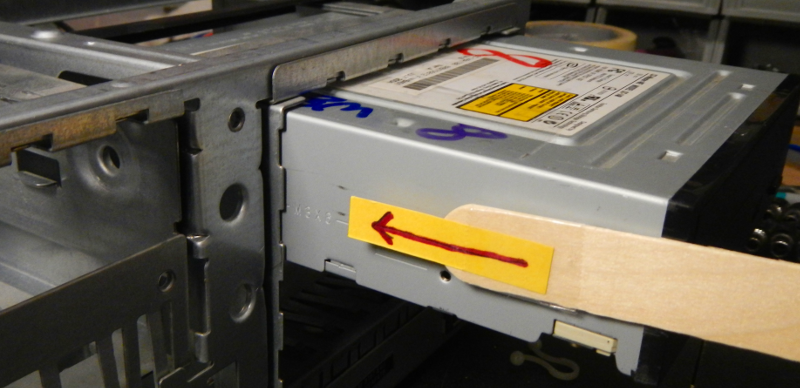
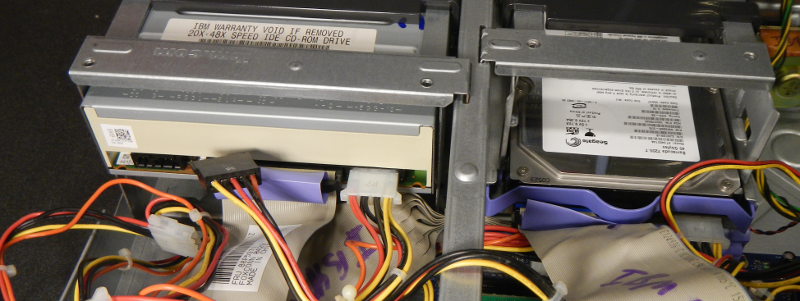
Step 8: Install the CD-ROM drive into the expansion bay
Position the CD-ROM to line up with its slot and slide it in until the screw holes in the actual device line up with the screw holes in the pivoting expansion bay. Use a screw driver to tighten the screws. Sliding in the CD-ROM can be a little hairy--so be patient and don't force it.
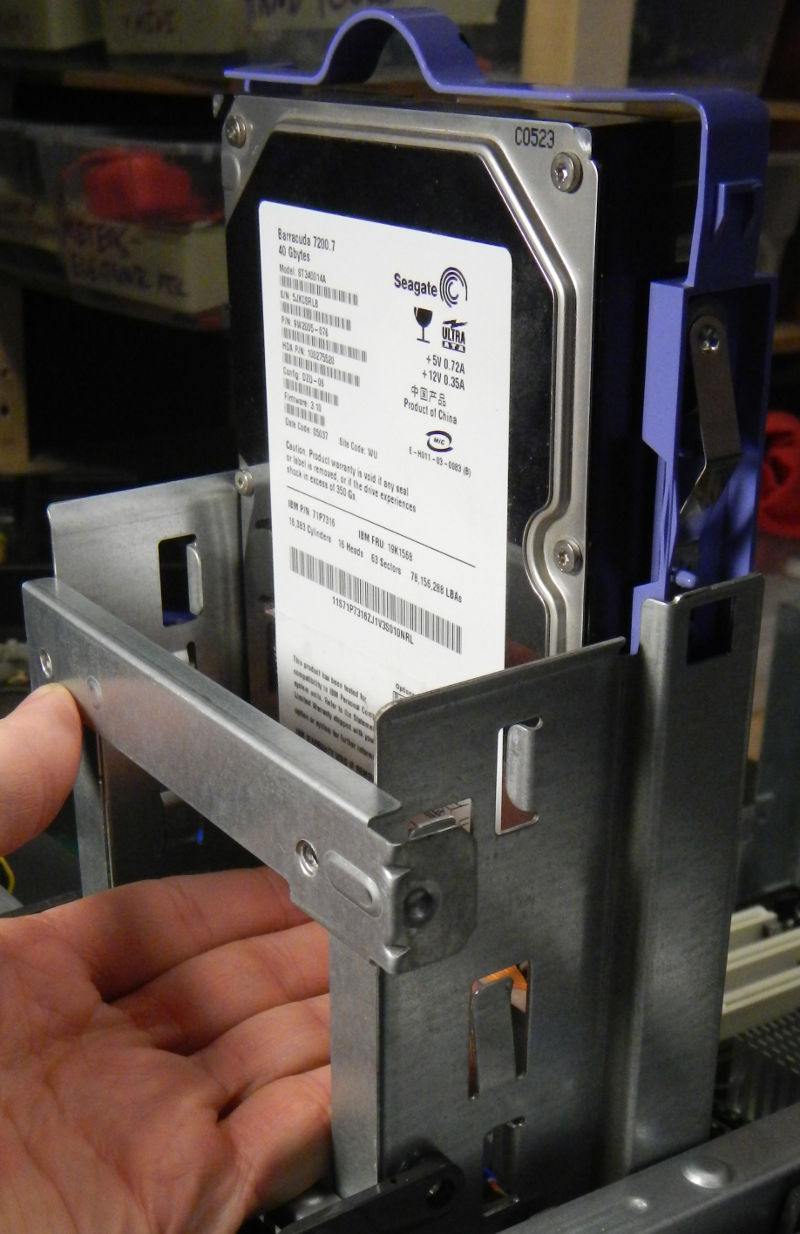
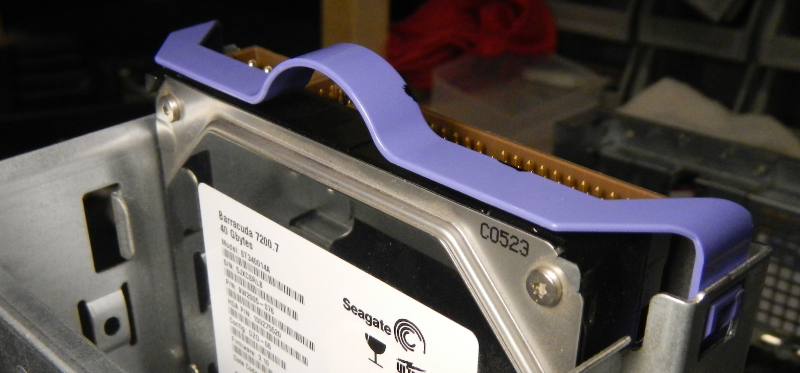
Step 9: Install the Hard Disk Drive (HDD)
You'll actually slide this puppy into the expansion bay slot with it up and locked, as shown. It slides in easily and snaps in.
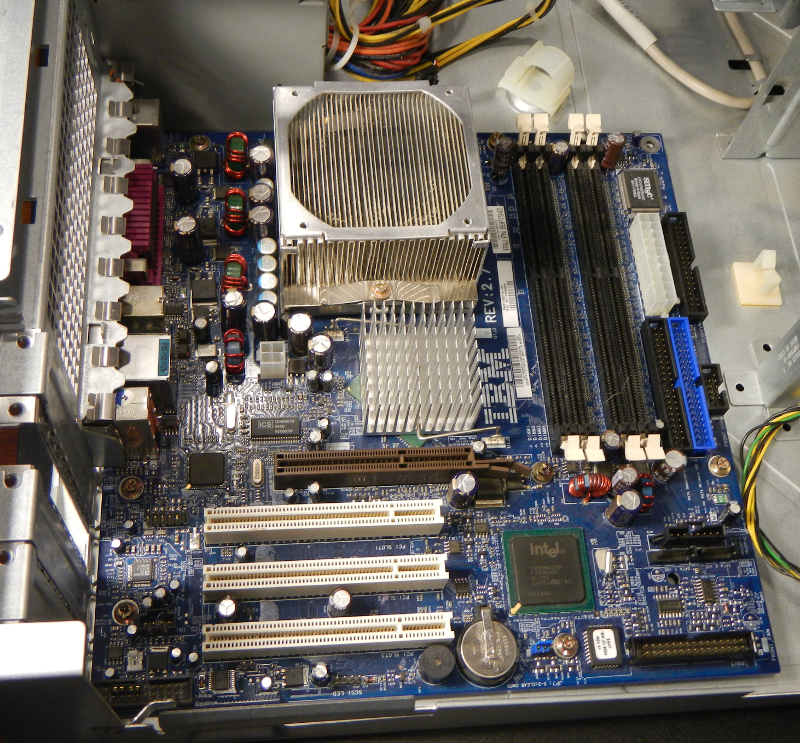
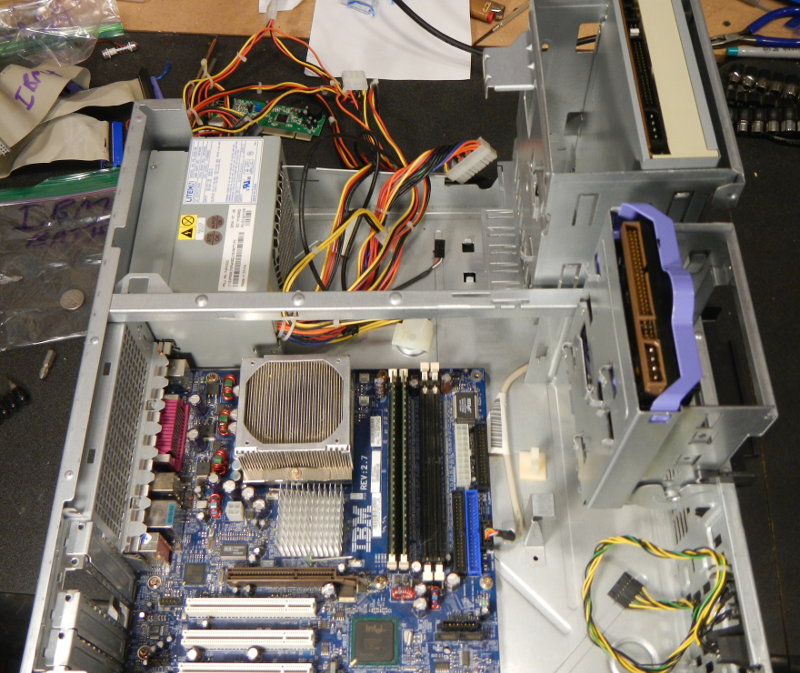
Step 10: Breathe and check the box
Wahoo! You have the major components installed. Check your setup to see if it lines up with the one shown below. If so, move on, otherwise, check your work and make changes as needed.
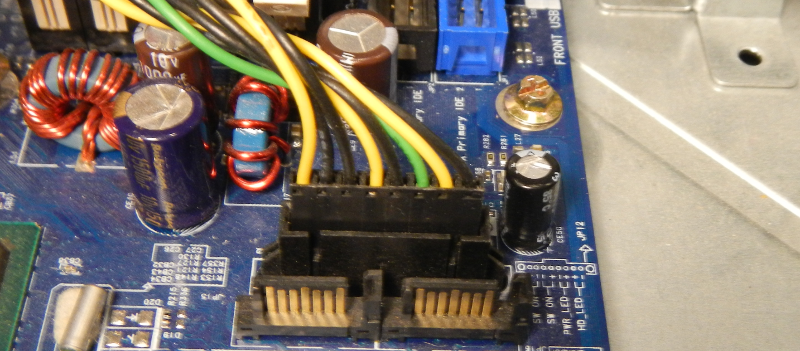
Step 11: Hook up the front power and light panel to the motherboard
This is the only component that was installed when you started--it just needs to be plugged into the mother board. This little component houses the power switch, the power light, and the hard disk drive read/write light.
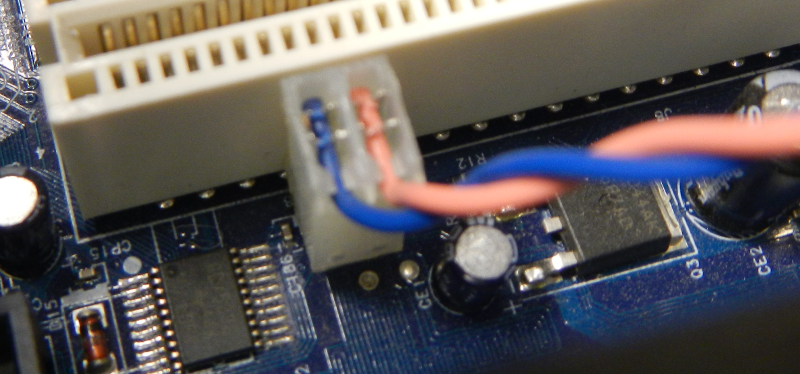
Step 12: Install and plug in the speaker
See photos

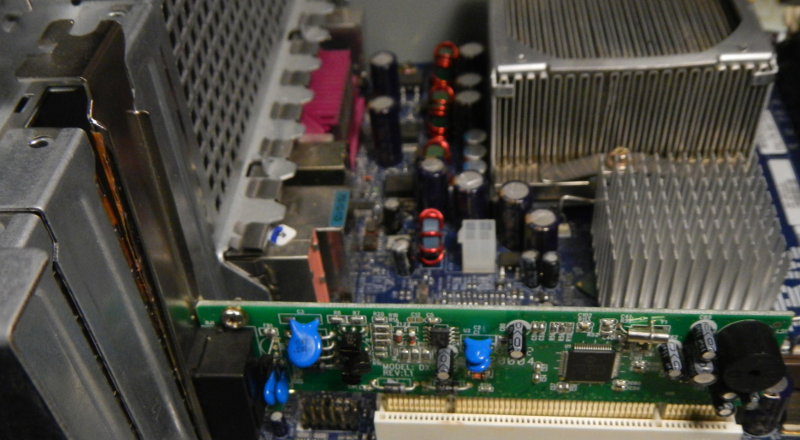
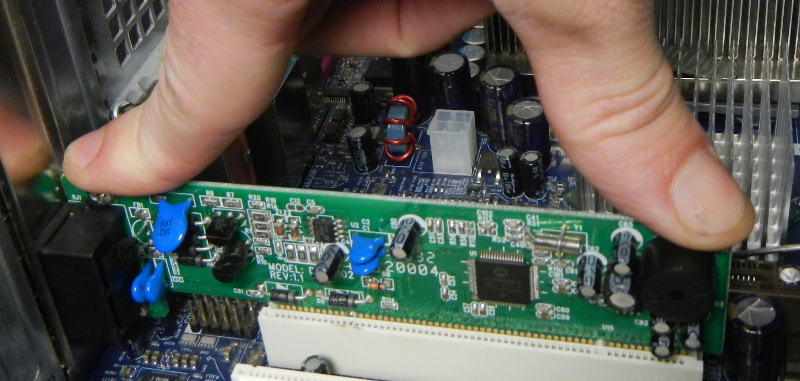
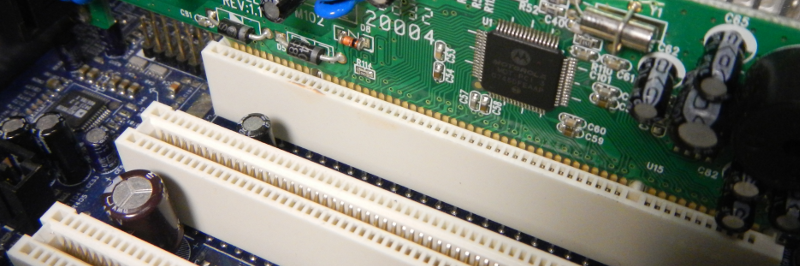
Step 13: Install the modem expansion card
Unlike the CD ROM and hard drive, the modem expansion card is small enough that it can actually sit right on the mother board, at a right angle. These are called expansion cards and you can see that the mother board can accept a number of expansion cards. This is a really old telephone modem. Like the RAM, this card needs to be aligned carefully with the slot on the motherboard and pushed firmly into place. Make sure when you think you are done, the top hook is flush with the other slot covers, as shown in the photo.
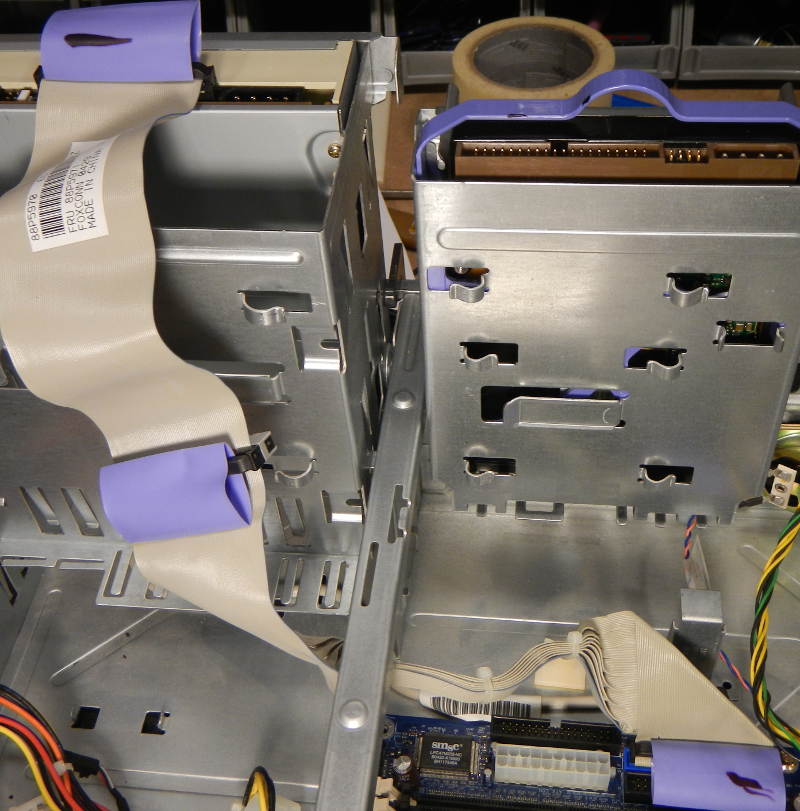
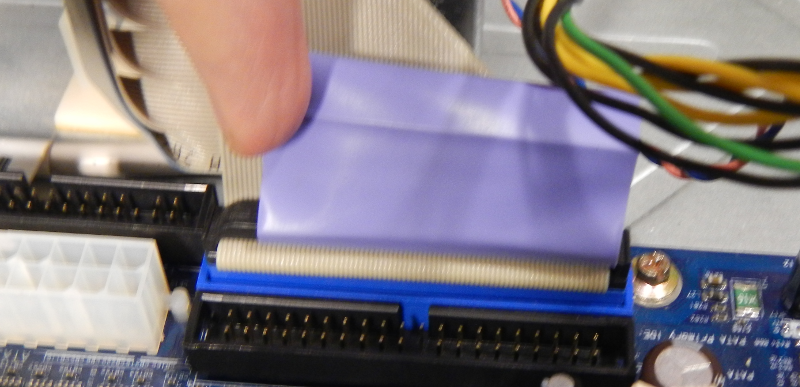
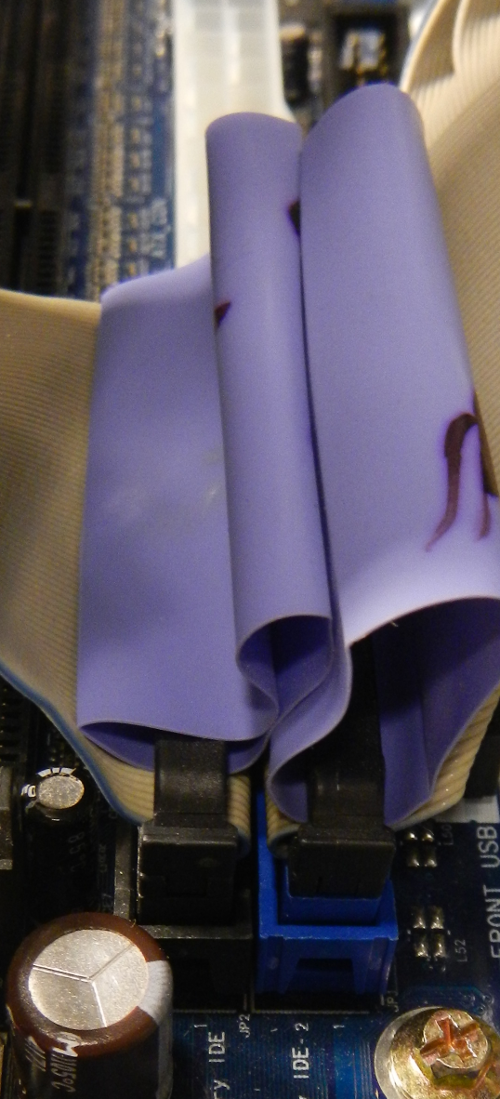
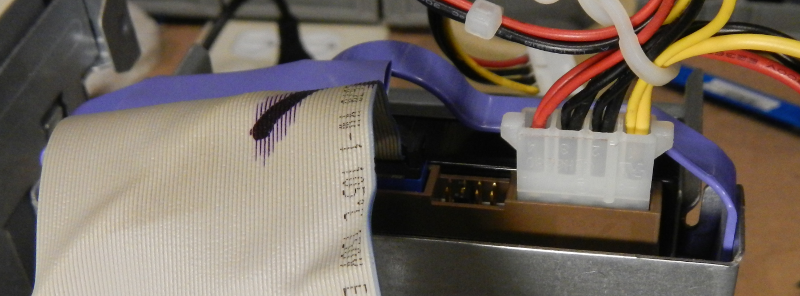
Step 14: Attach the data cable to the CD-ROM drive and the motherboard
This ribbon wire contains a few dozen individual little wires that carry data from and to the CD-ROM drive.
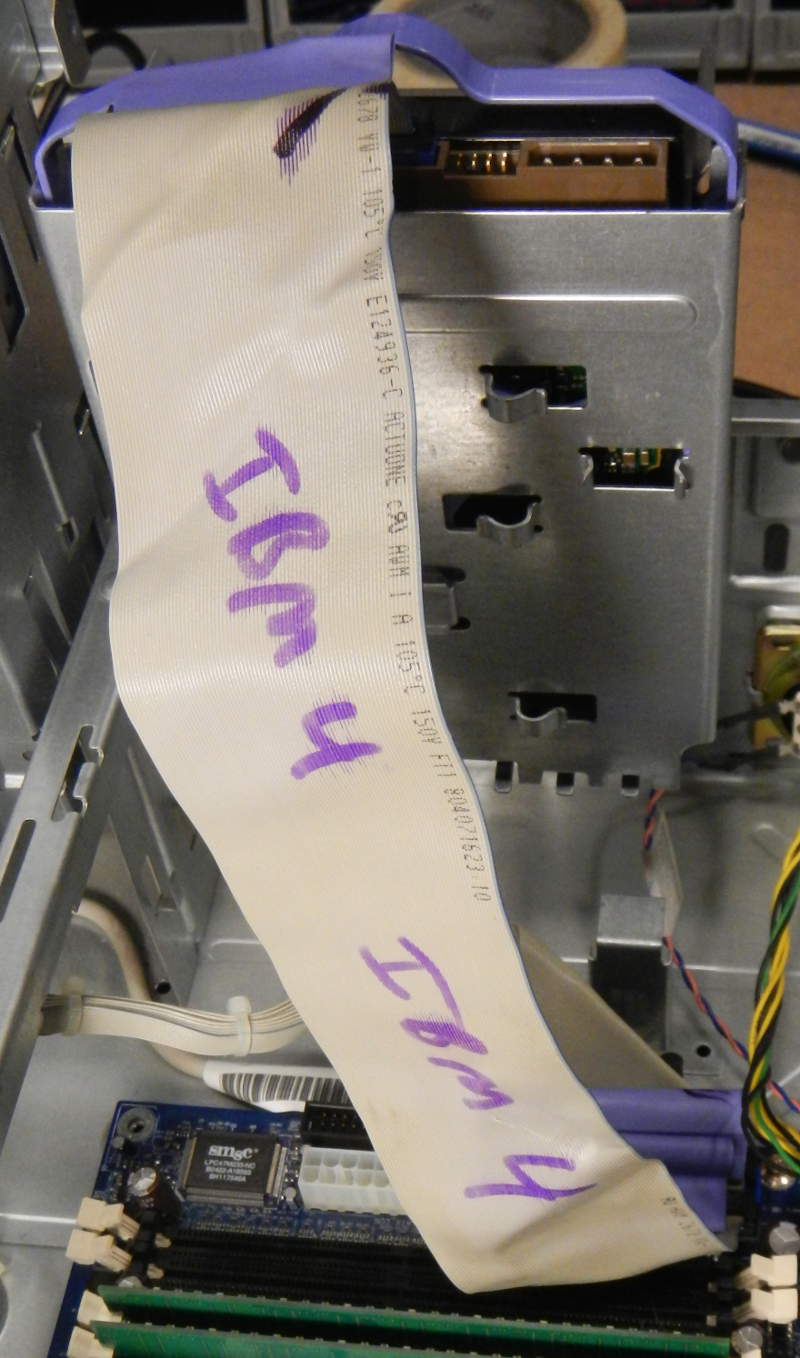
Step 15: Attach the data cable to the Hard disk drive and the motherboard
Ghost step!
You would, at this point, also install and hook up the old 3.5" floppy drive. But it has temporarily gone on vacation, probably to a warm island or mountaineous climate in SouthEast Asia, a location known to be frequented by abandoned computer components.
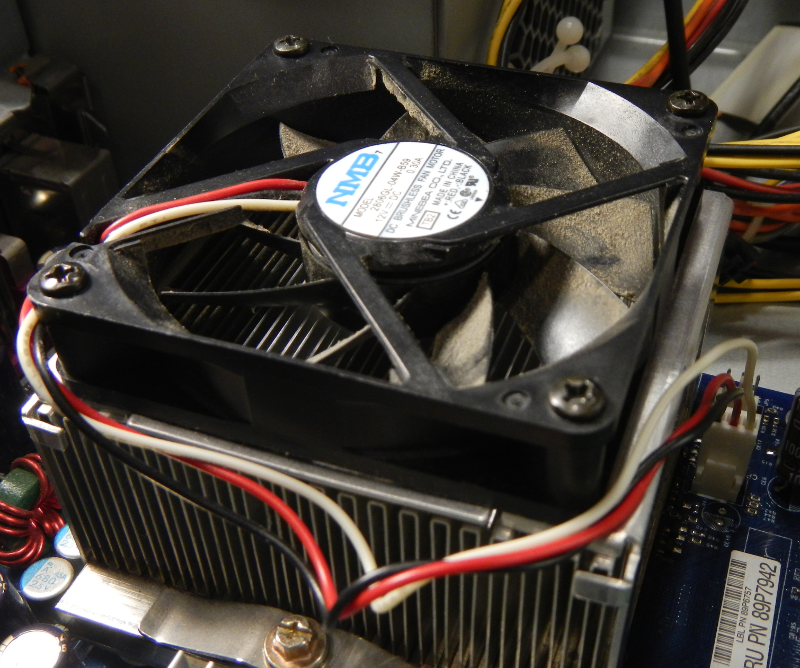
Step 16: Screw in the CPU fan and attach its power cable to the motherboard
use the four screws in the CPU Fan bag to attach the fan to the top of the heat sync, which are those aluminum fins on the motherboard. This fan blows cool air over the aluminum fins, which, in turn, pull heat away from the central processing unit, which is located under these fins.
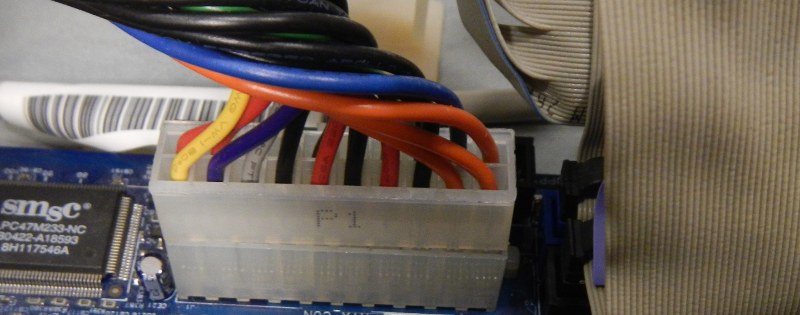
Step 17: Attach the motherboard power cable from the power supply
Make sure these pins are lined up in their proper order by making sure the port has its notch lined up with the notch on the motherboard port. This carries power, not data. There are many components on the motherboard that need their own power.
Step 18: Attach power to the CD-ROM
Find a cord from the power supply that fits onto the back of the CD-ROM drive. This carries power, and any port that fits will do just fine. The power ports are designed only to fit with cords that supply the correct voltage of power. How handy, right?
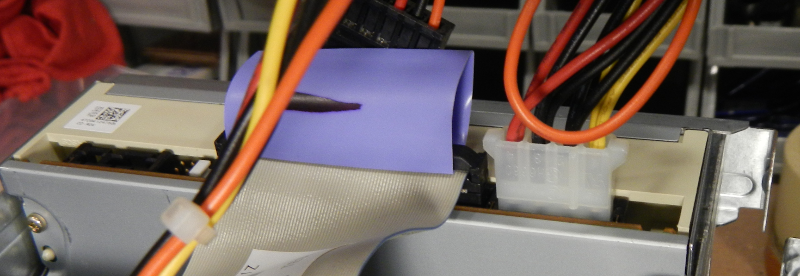
Step 19: Attach power cable to the hard disk drive
Same procedure as for the CD-ROM
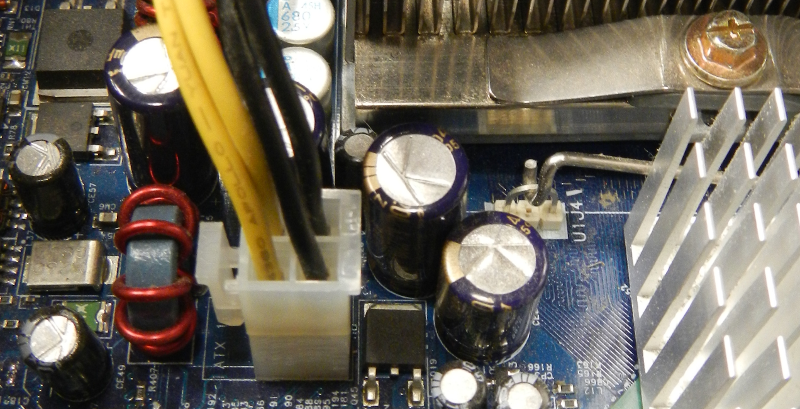
Step 20: Attach the second power cable to the mother board
The mother board works with so many components, that it gets two power plugs. I think this one supplies power to the fans and such.
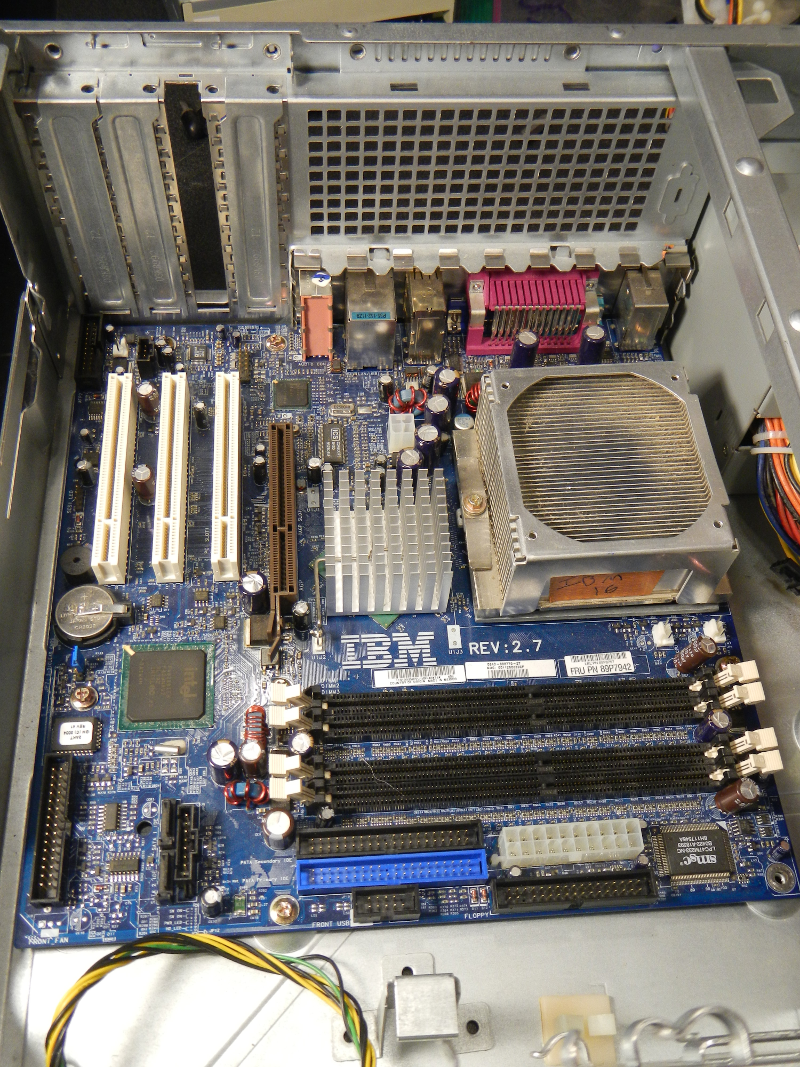
Step 21: Check the assembly
Check your assembly against this photo and make sure all components have power and data running to and from them. Note that the network card does not have its own power.
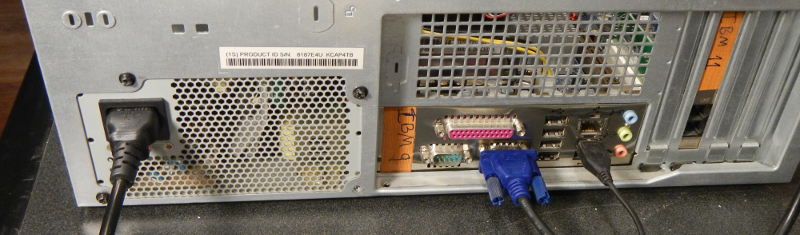
Step 22: Attach the power, display, and keyboard cables to the rear of the computer
Note that we put the power cable from the wall right into the power supply. The keyboard and the display cable get plugged into the motherboard directly.
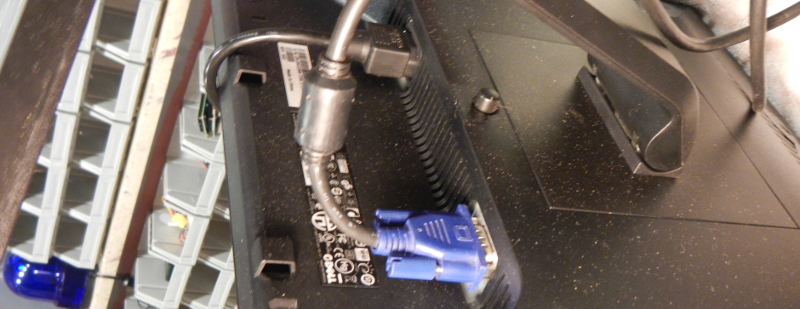
Step 23: Hook up the cables to the monitor
The monitor needs a power in and a data VGA cable.
Step 24: Power the system on!
Plug in the monitor and the computer itself into the wall power. This computer may or may not boot properly, but it will light up and start whirring. The image below is when it booted a few days ago. Check each of the components to see if they are on (do they feel warm? Can you feel them spinning?) and if they are doing anything. NOTE that there are no unsafe voltages inside the computer. All metal components can be touched without gloves or worry. All dangerous voltage is contained inside the power supply and you cannot easily access those (even with a screwdriver!). Good work!